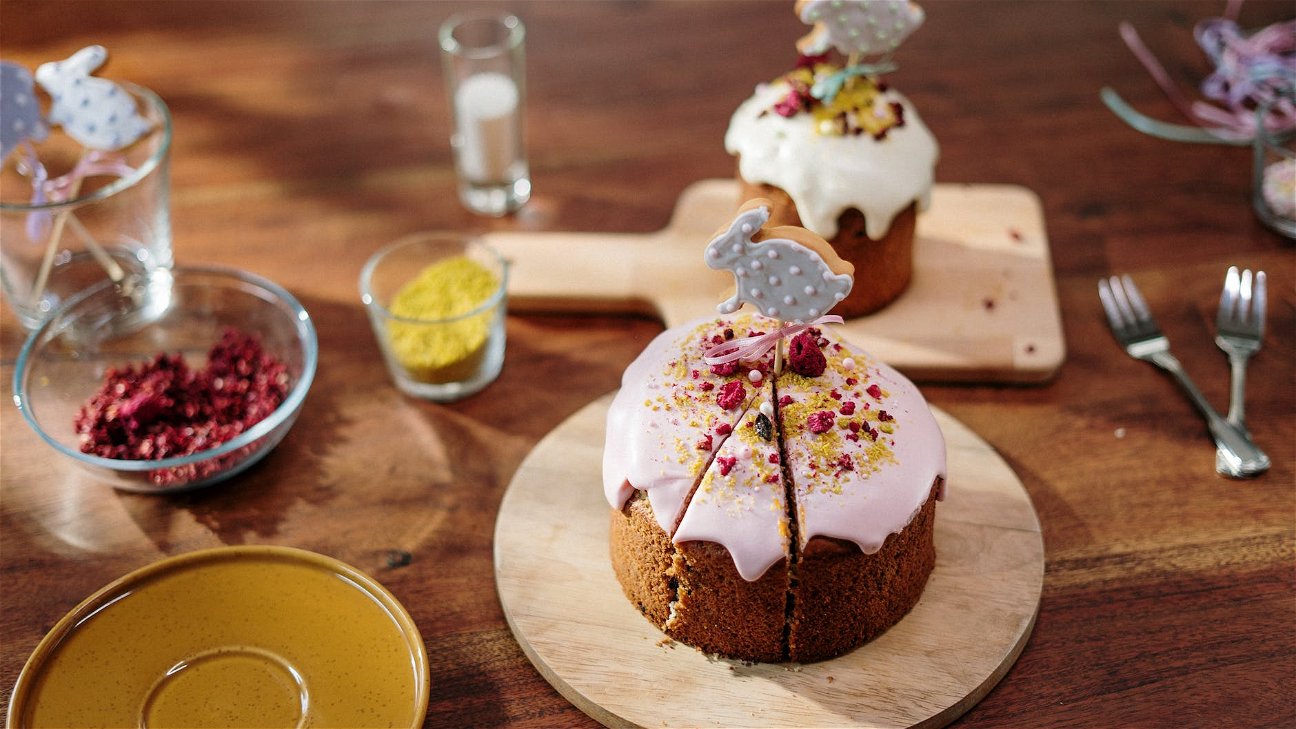
Baking is both a science and an art. It's a beautiful harmony of precision, creativity, and timing. And while beginners can certainly make mouthwatering pastries and breads, there's a certain depth and dimension that comes with mastering advanced baking techniques.
Here, we delve into the top three techniques that will take your baking to the next level. These aren't your everyday cookie and cake baking methods—these are skills that professional bakers use to create their culinary masterpieces.
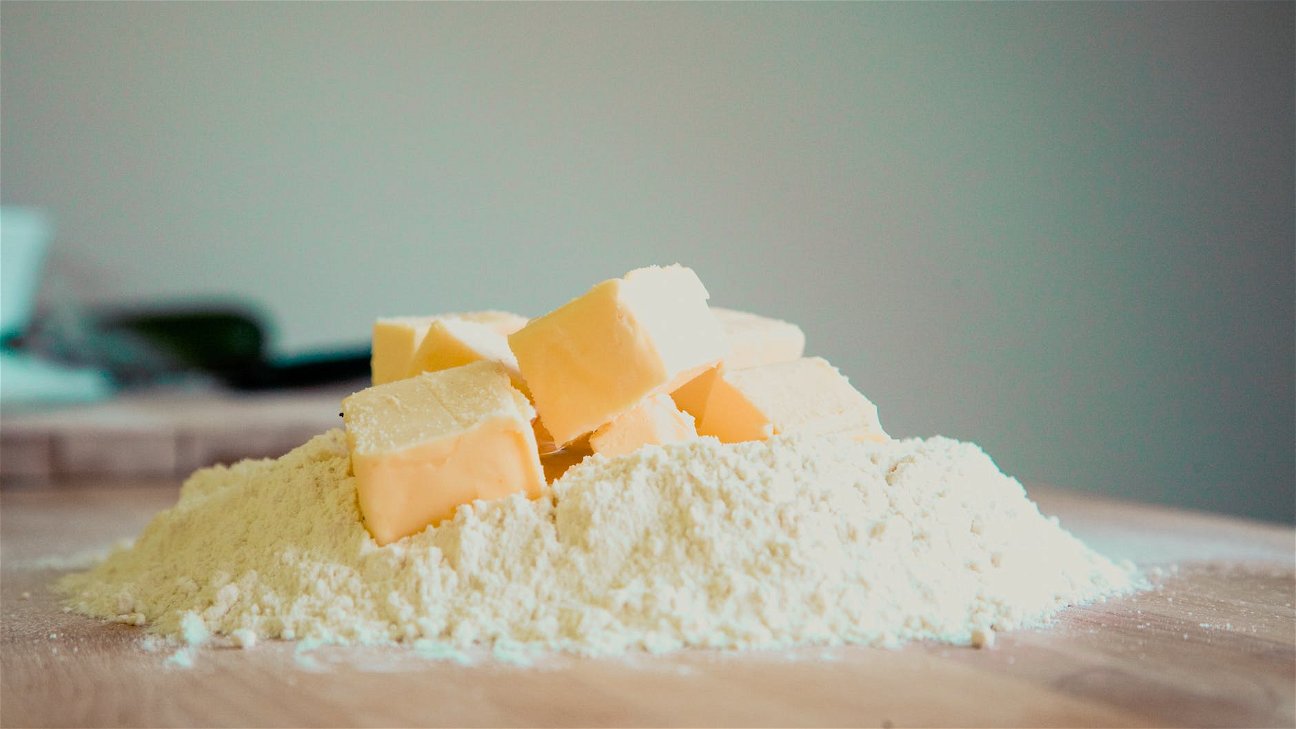
1. Lamination
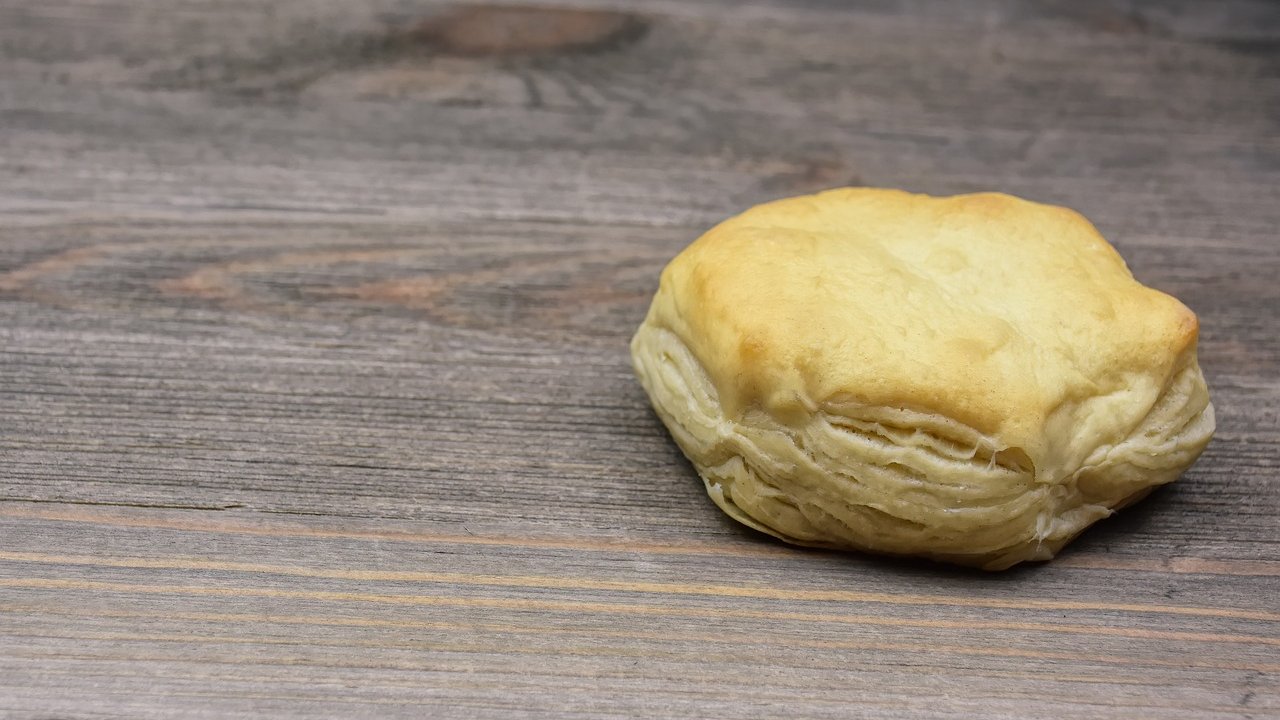
Lamination is the process of incorporating fat into your dough in thin layers, which results in a flaky and delicate texture. It's the key technique behind delicious pastries such as croissants, Danish pastries, and puff pastries.
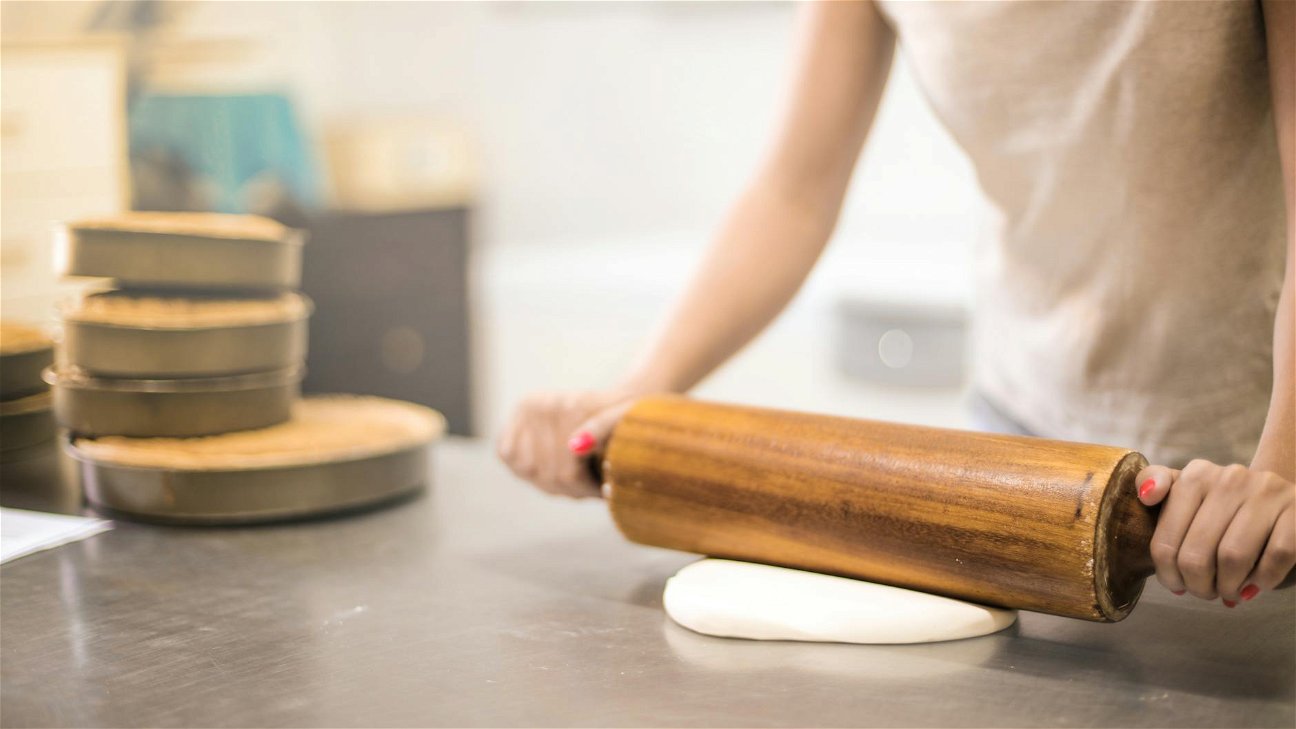
Here's a basic step-by-step guide on how to laminate dough:
- Make your dough and let it rest.
- Prepare your butter block.
- Encase the butter block in the dough.
- Roll out and fold the dough multiple times.
- Rest the dough in between each roll and fold.
- Repeat until you get the desired number of layers.
Laminating requires patience, but the payoff is definitely worth it. This technique can be physically demanding, so be ready for a real baking workout!
2. Sourdough Starter Cultivation
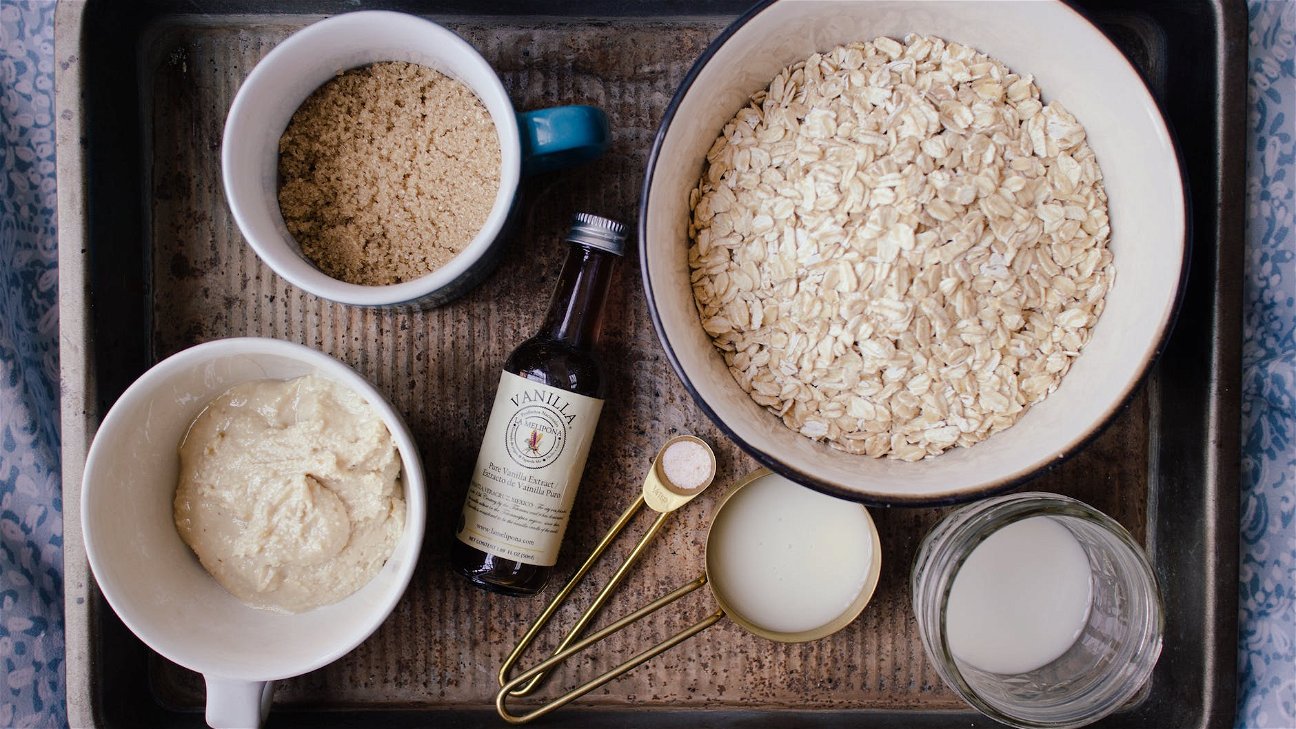
A sourdough starter is a mixture of flour and water that has been fermented with wild yeast and bacteria. This is the key to making flavorful and naturally leavened bread. Cultivating a sourdough starter requires patience and consistency, but the result is a unique depth of flavor that can't be achieved with commercial yeast.
Here are the basic steps to create your own sourdough starter:
- Mix equal parts of flour and water in a jar.
- Let it sit at room temperature for 24 hours.
- Feed the starter with equal parts of flour and water daily.
- After 5-7 days, it should be bubbly and ready to use.
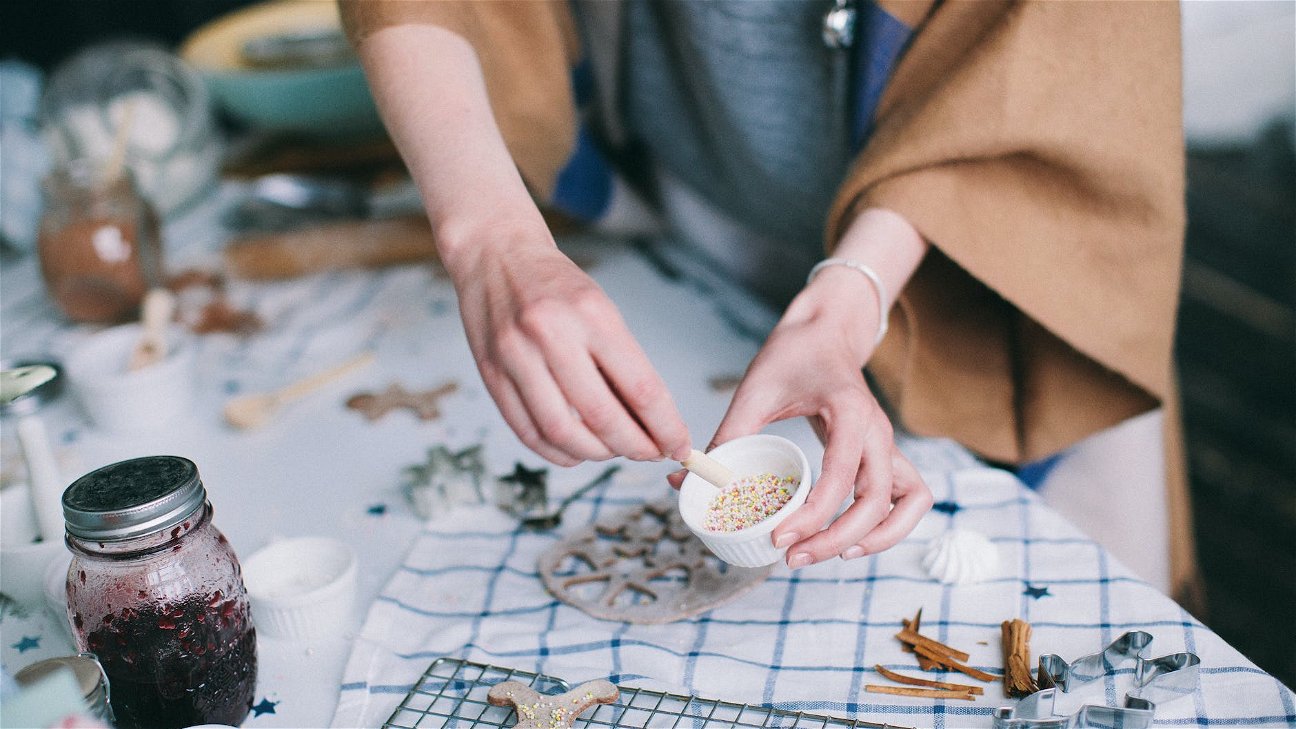
3. Chocolate Tempering
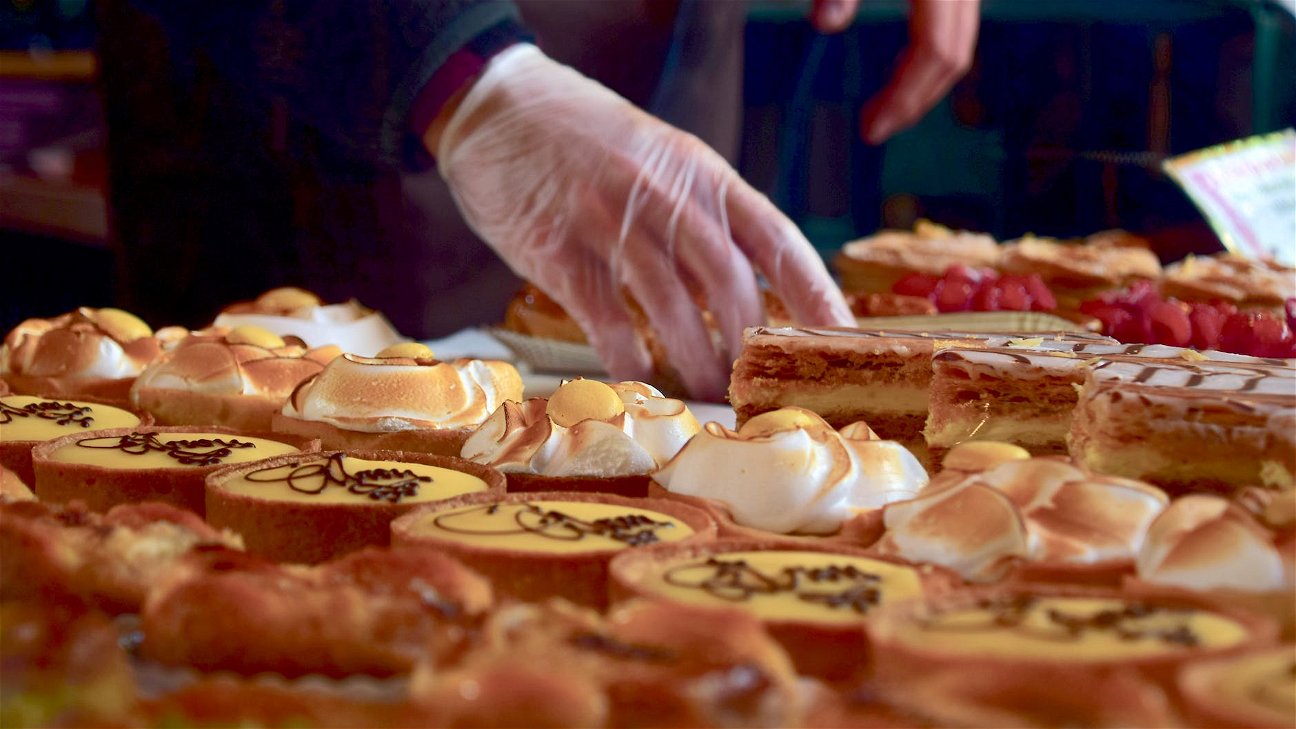
Tempering chocolate involves heating and cooling it to specific temperatures to control the crystallization of the cocoa butter. This results in a shiny finish and a satisfying snap, which is essential for creating professional-looking and -tasting chocolates, glazed cakes, and other chocolate-covered treats.
Here's how to temper chocolate:
- Chop your chocolate into small pieces.
- Melt two-thirds of the chocolate over a double boiler to about 45°C (113°F).
- Remove from heat and add the remaining chocolate, stirring until melted.
- Cool the chocolate to about 27°C (80°F), stirring constantly.
- Reheat to 32°C (89.6°F) before using.
Mastering these advanced baking techniques not only gives you a chance to improve your baking skills but also opens a new world of possibilities in the kitchen. The journey to becoming a baking pro might be challenging, but with practice, patience, and persistence, anyone can achieve it.